How to Create a Personalized Storybook
Transform your family photos into a magical illustrated storybook! This guide walks you through the entire journey—from selecting characters to holding a printed booklet in your hands.
Getting Started
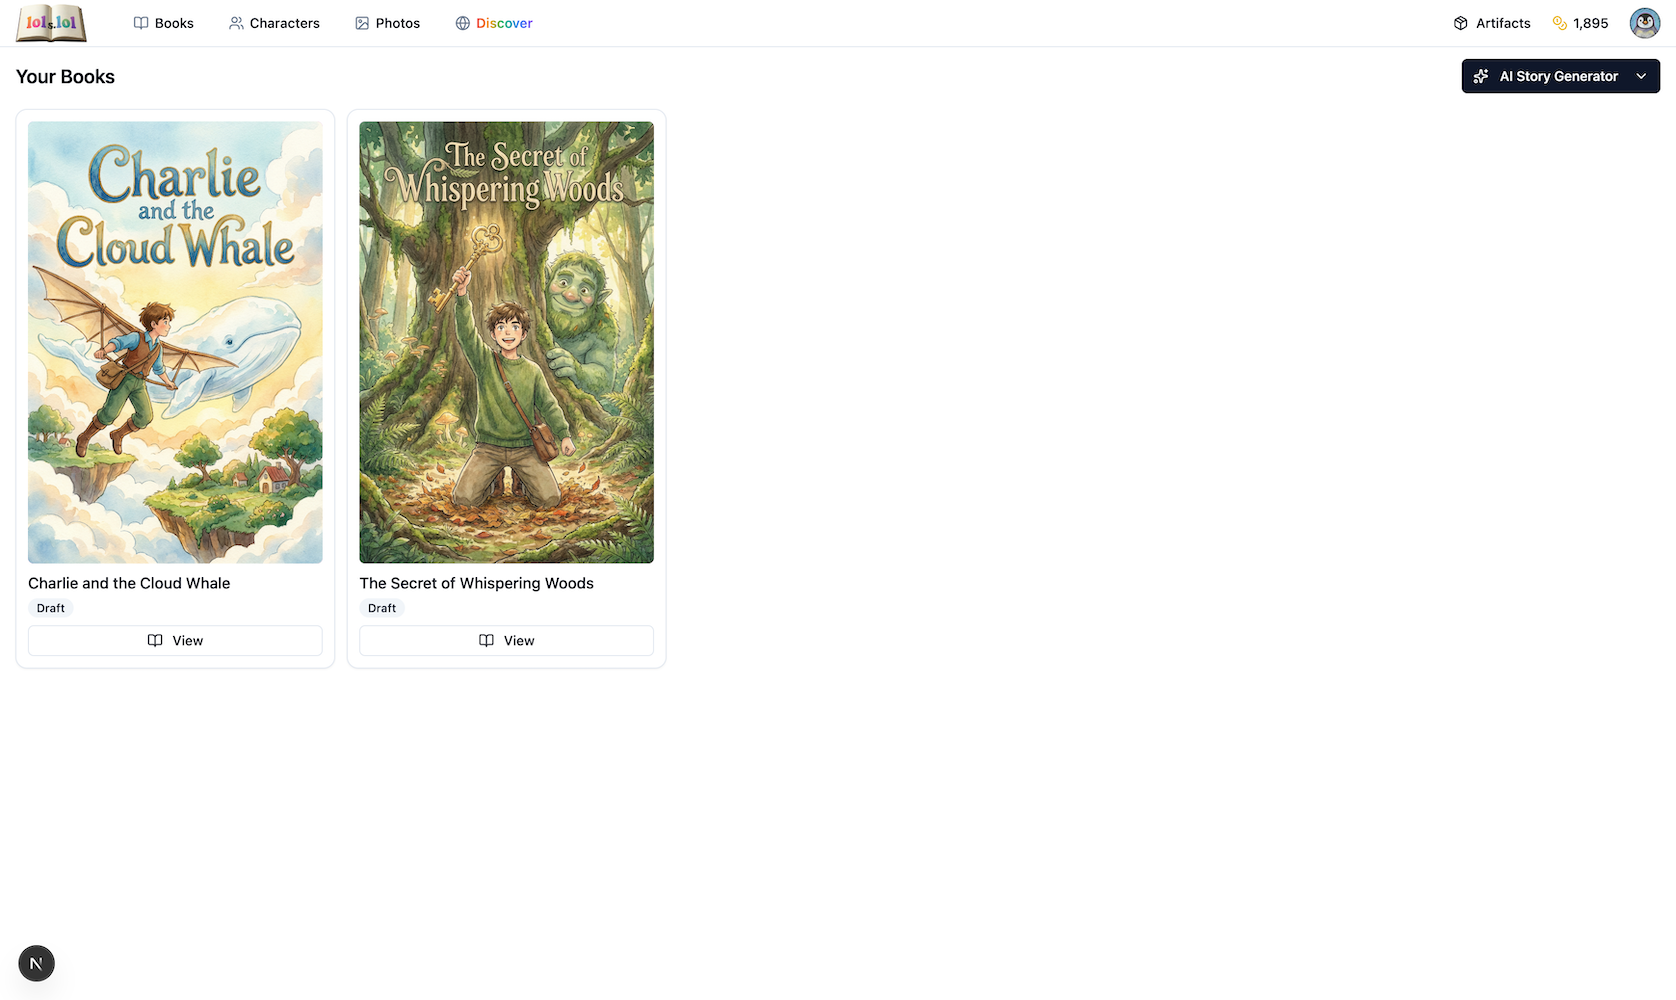
From the Books page, click the AI Story Generator button.
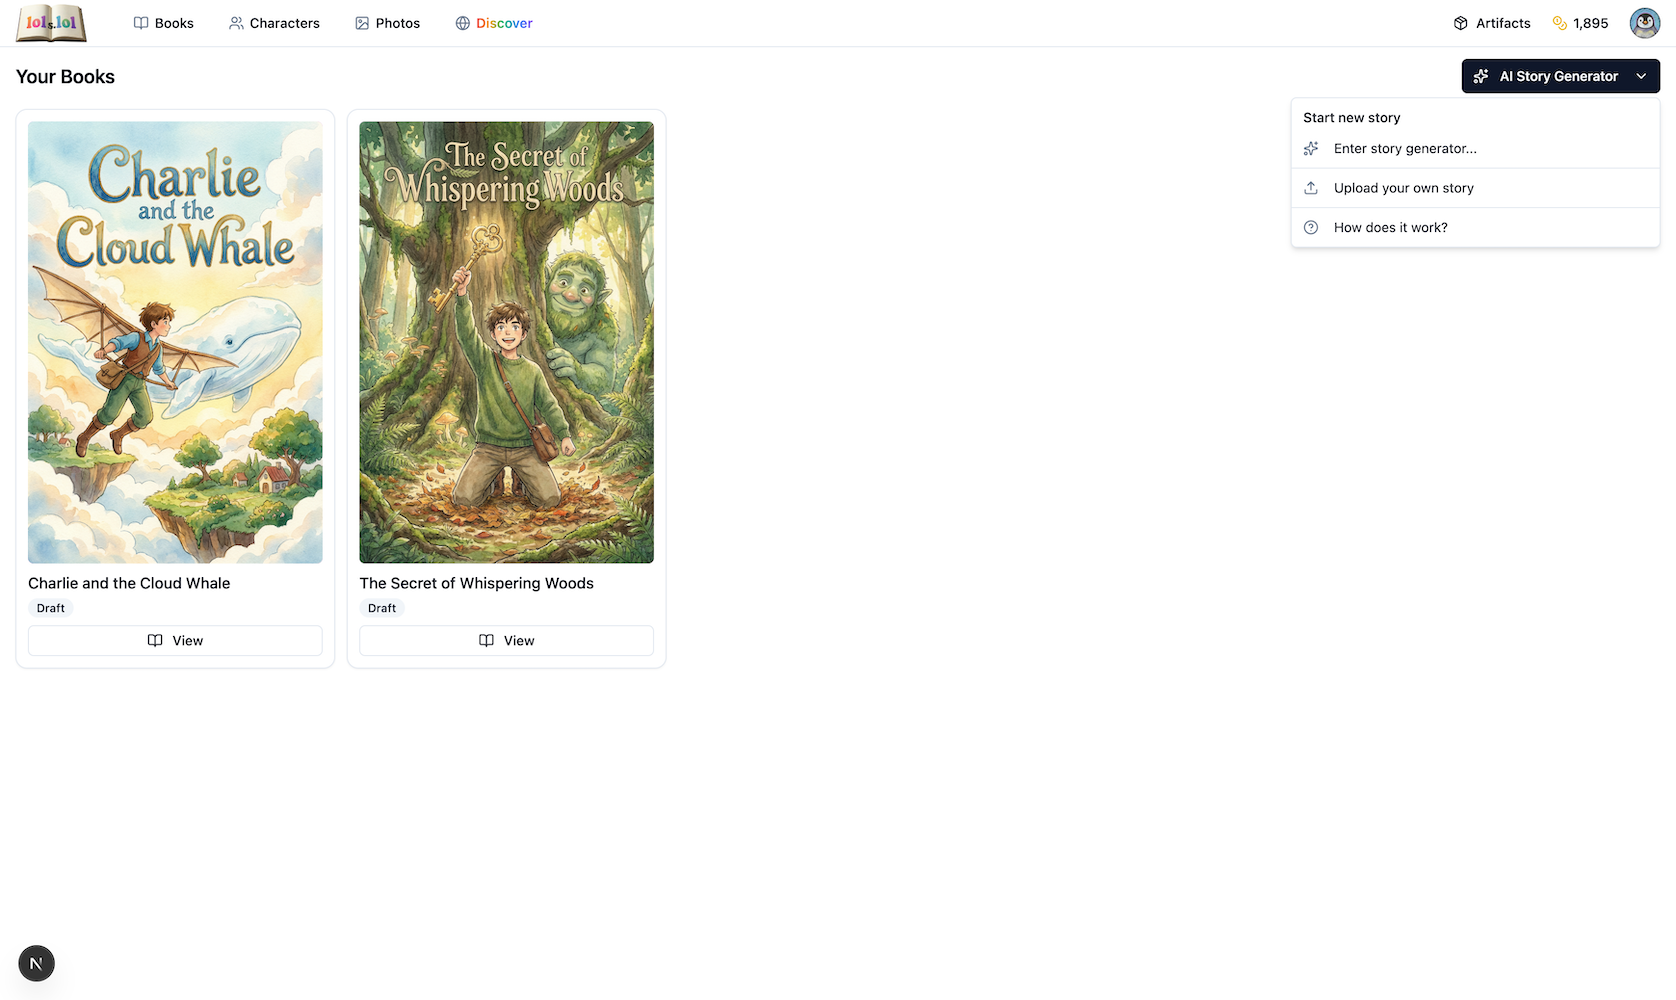
Click Enter story generator to begin your adventure.
Meet Your Creative Team
You'll work with eight AI assistants, each bringing their own expertise to your book. Learn more about each agent here!
| Agent | Role | What They Do | |
|---|---|---|---|
 | Clover | Casting Director | Helps you choose who stars in your story |
 | Compass | Configurator | Sets up your story's art style, age range, and length |
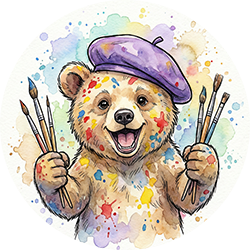 | Brushstroke | Artist | Transforms photos into stylized character artwork |
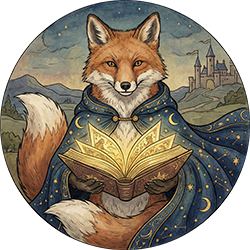 | Fable | Storyteller | Dreams up unique story ideas tailored to your characters |
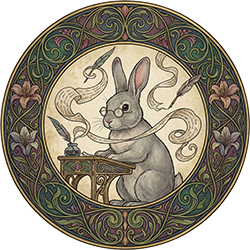 | Penelope | Wordsmith | Crafts the words that bring each page to life |
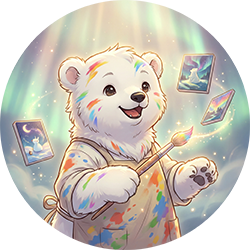 | Easel | Illustrator | Paints beautiful scenes for every page |
 | Spotlight | Cover Artist | Designs the perfect cover for your book |
 | Finley | Bookbinder | Assembles everything into your finished masterpiece |
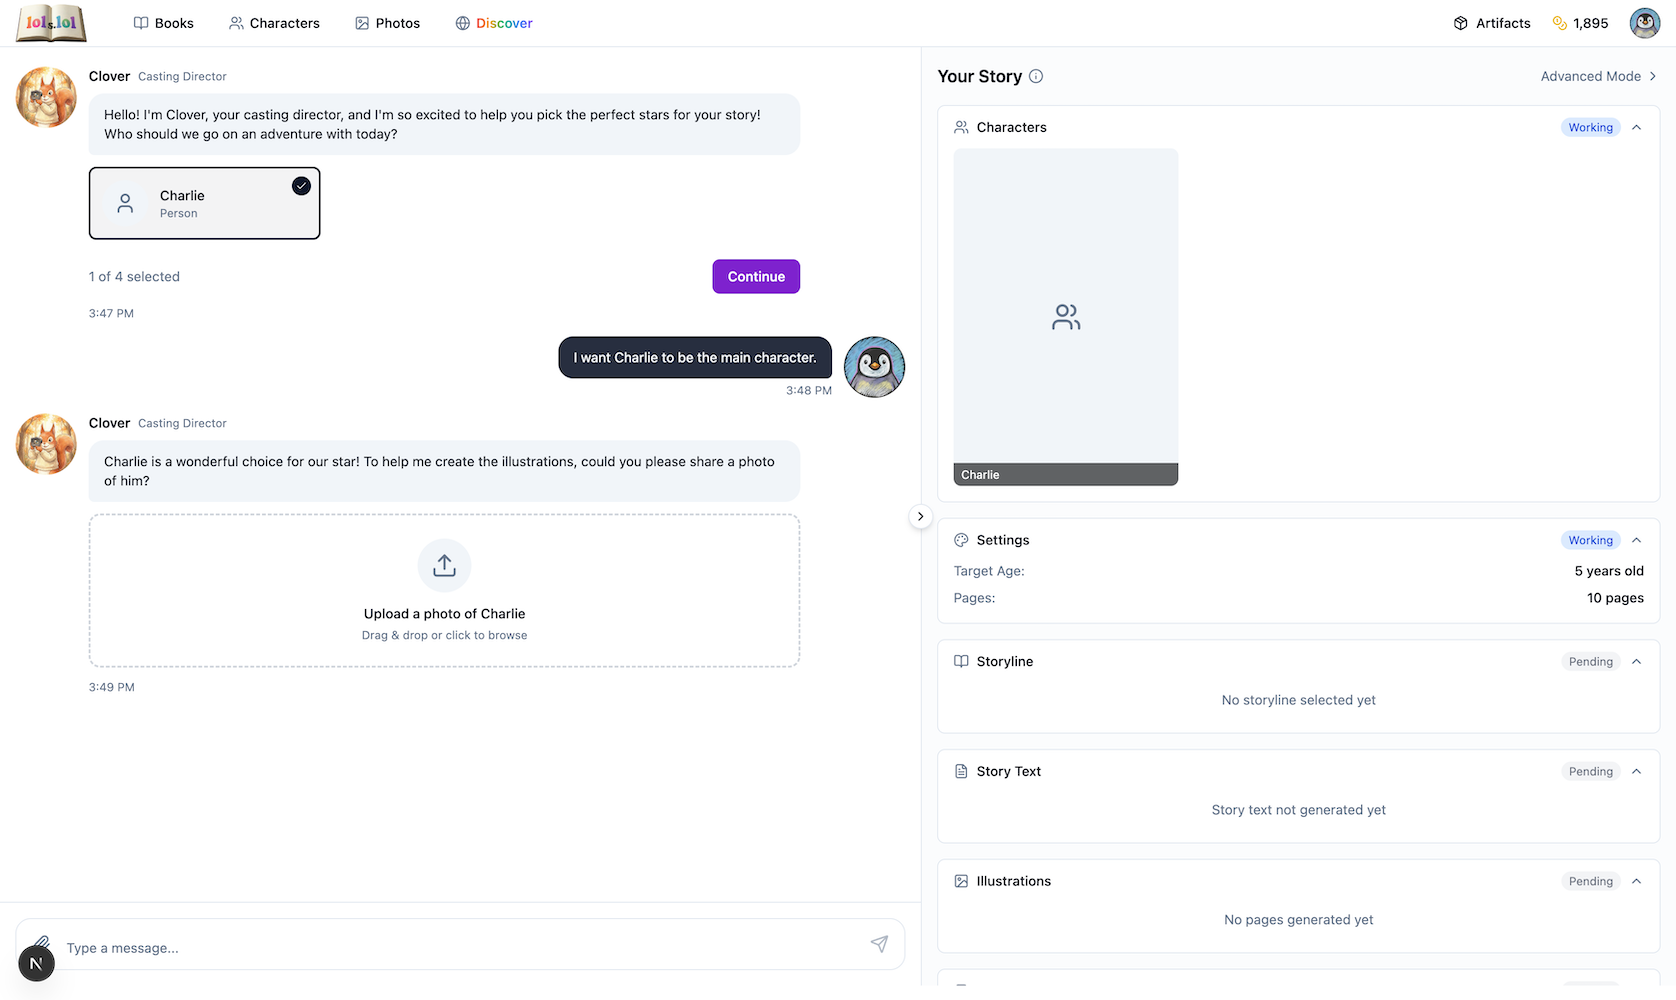
Step 1: Cast Your Characters
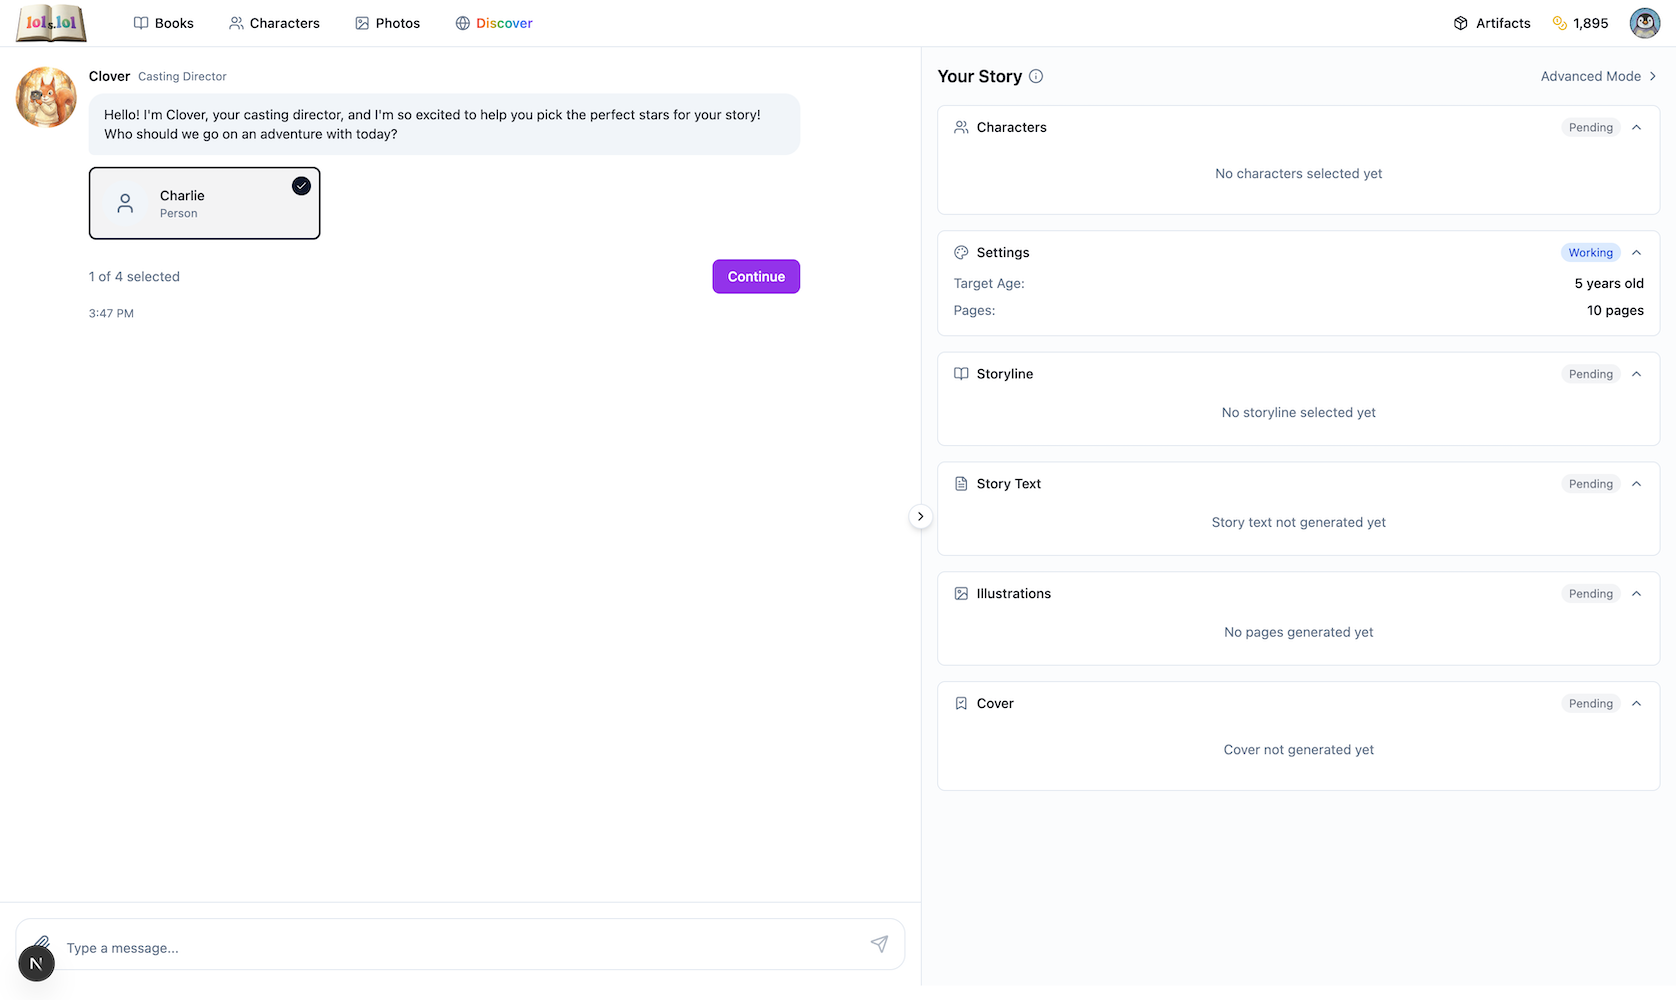
Welcome! Let's pick the stars of your story. Who would you like to feature today?
You'll see your family members and pets displayed as character cards. Click on anyone you want in the story—a checkmark appears when selected.
First time here?
You'll need to add characters first! Head to Photos to upload pictures of family members and pets, then come back here to cast them in your story. If a selected character needs a photo, Clover will prompt you to upload one right in the chat.
Step 2: Set the Stage
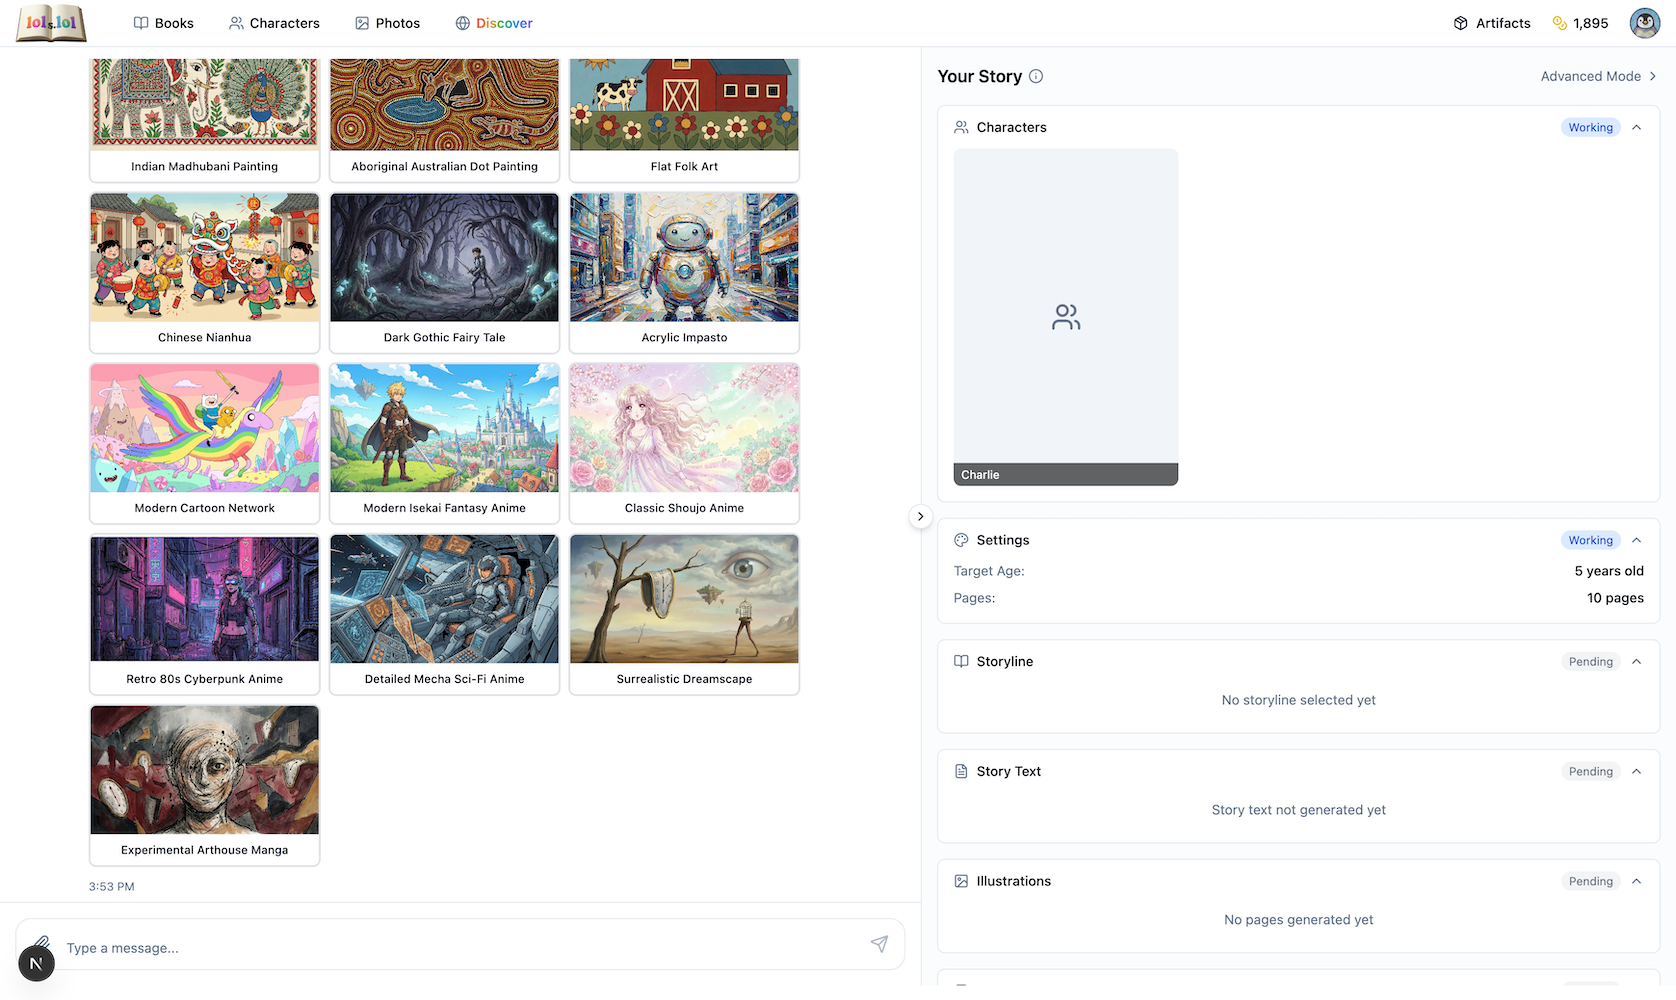
Excellent choices! Now let's configure your story. What art style speaks to you?
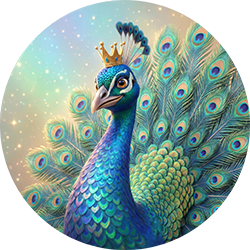
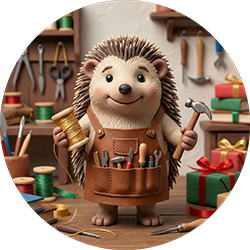
Browse through gorgeous art styles—Studio Ghibli for whimsical hand-painted magic, Makoto Shinkai for vibrant, atmospheric beauty, Pixar-style for bright 3D energy, and more.
Compass also helps you set:
- Target age for the reader (affects vocabulary and complexity)
- Number of pages (typically 8-12 pages)
Step 3: Create Character Artwork
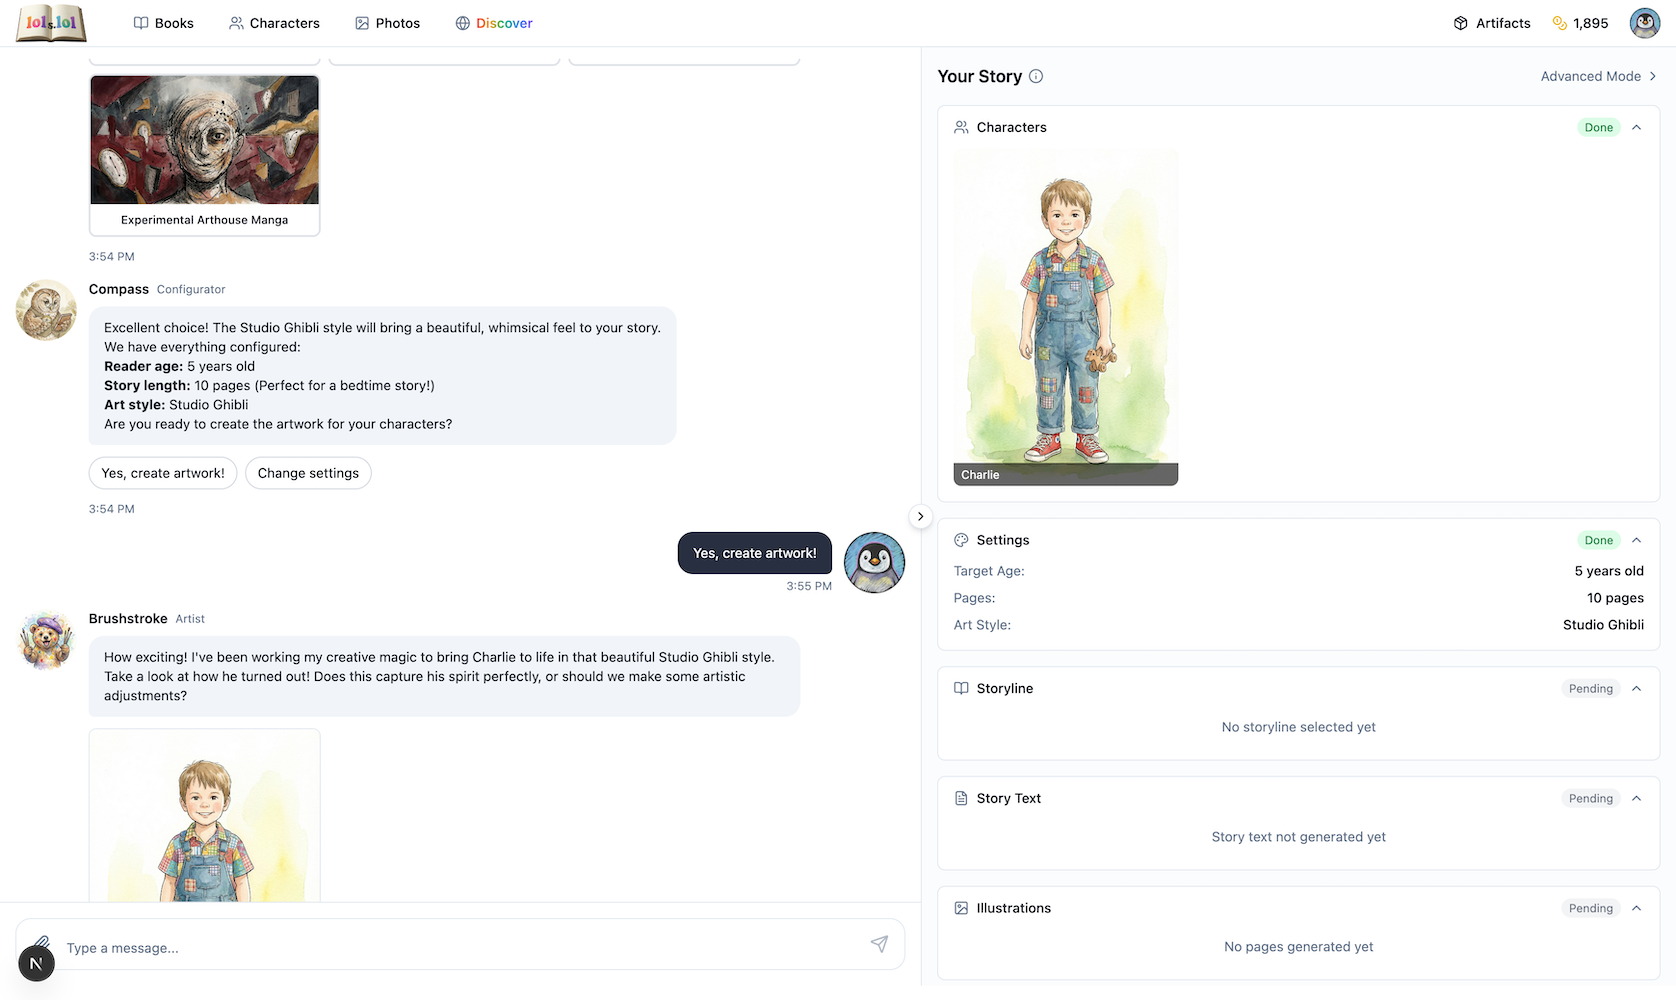
Time to work my magic! I'll transform your photos into beautiful character art in your chosen style.
This takes a moment as Brushstroke carefully renders each character. Once complete, you'll review the artwork.
Not quite right? Give specific feedback like "Make the hair curlier" or "The eyes should be greener." Brushstroke will refine until you're happy.
Step 4: Choose Your Adventure
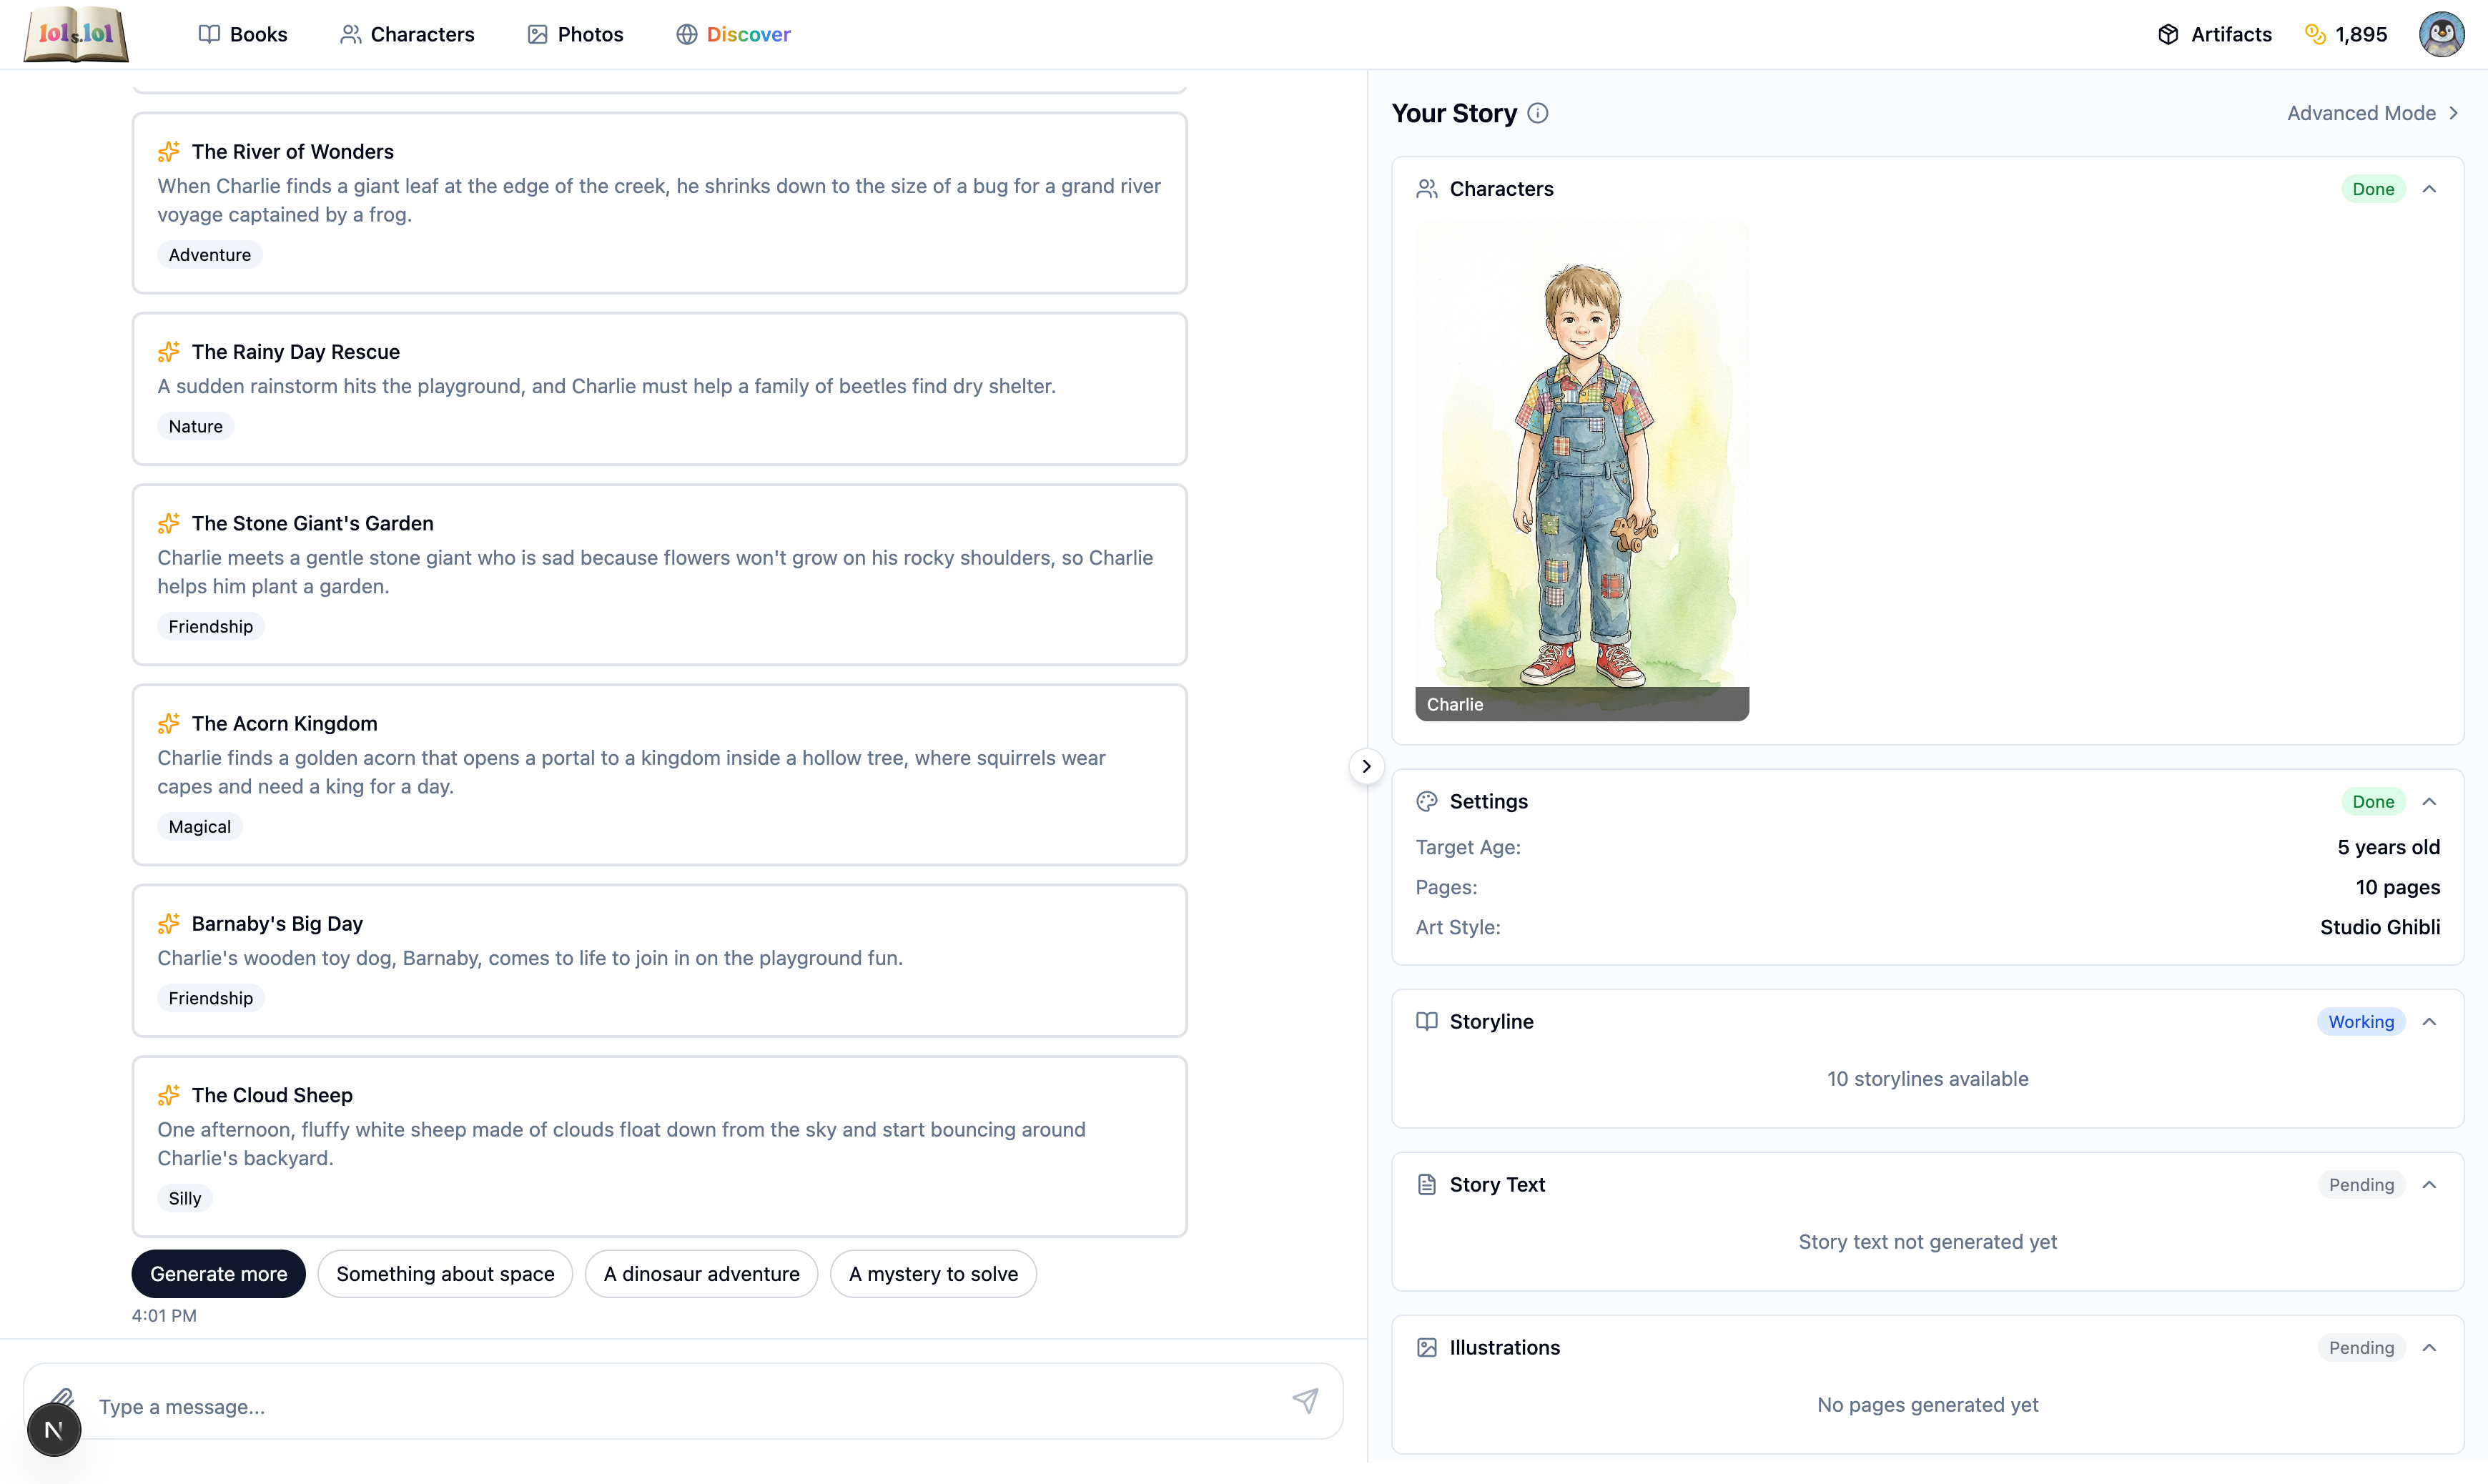
I've been dreaming up stories just for your characters! Here are some adventures they could have...
Fable presents several unique storylines, each showing:
- Title — The name of your book
- Premise — What the story is about
- Key scenes — The adventure's highlights
Click the story that captures your imagination!
Step 5: Craft the Words
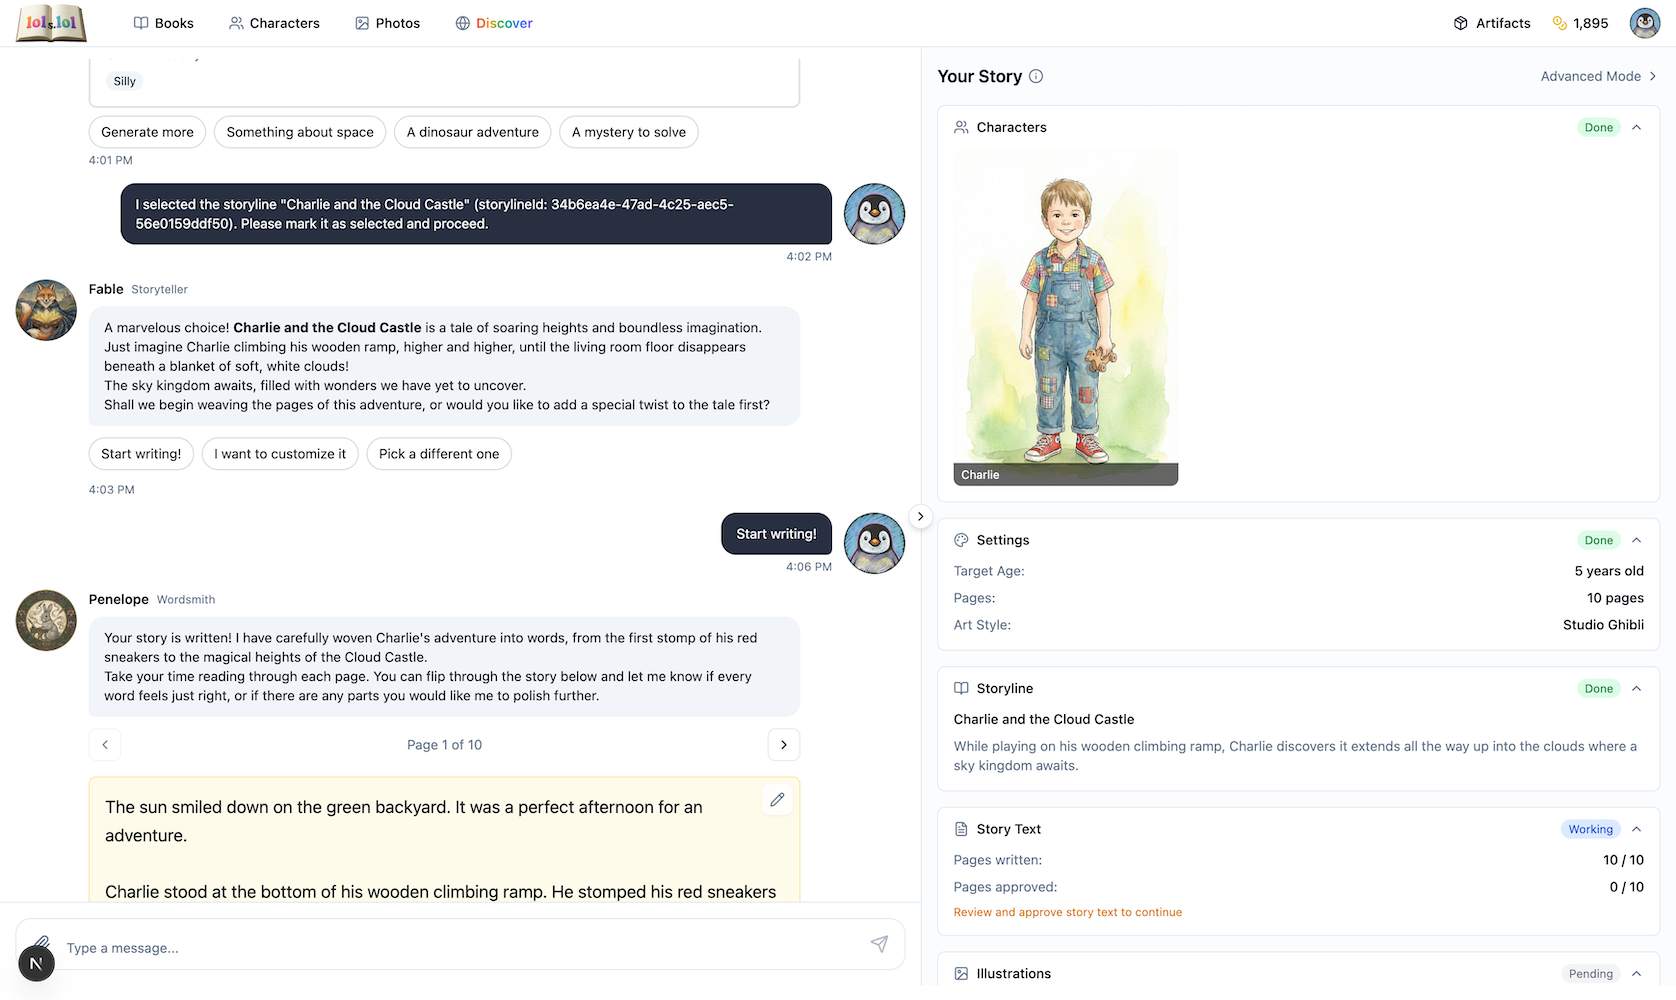
What a wonderful story choice! Let me write the perfect words for each page...
Penelope crafts age-appropriate text—simpler sentences for younger readers, richer vocabulary for older ones.
Read through each page and request changes if needed. Penelope is happy to revise until the words sing.
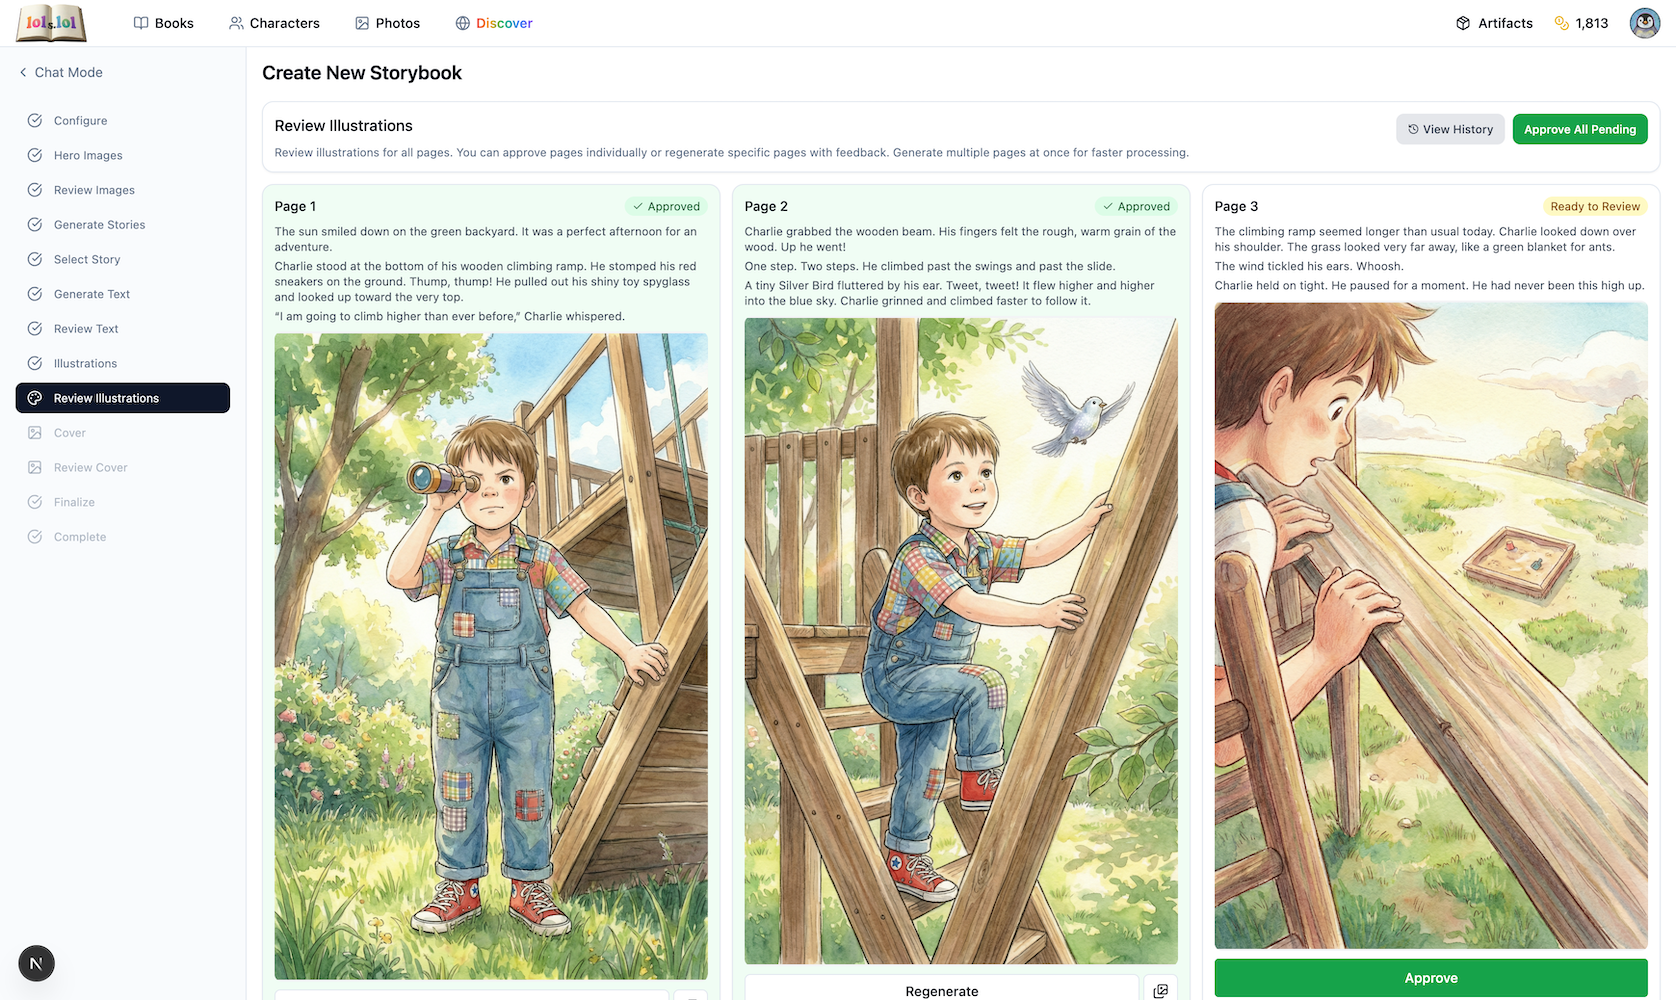
Step 6: Bring Pages to Life
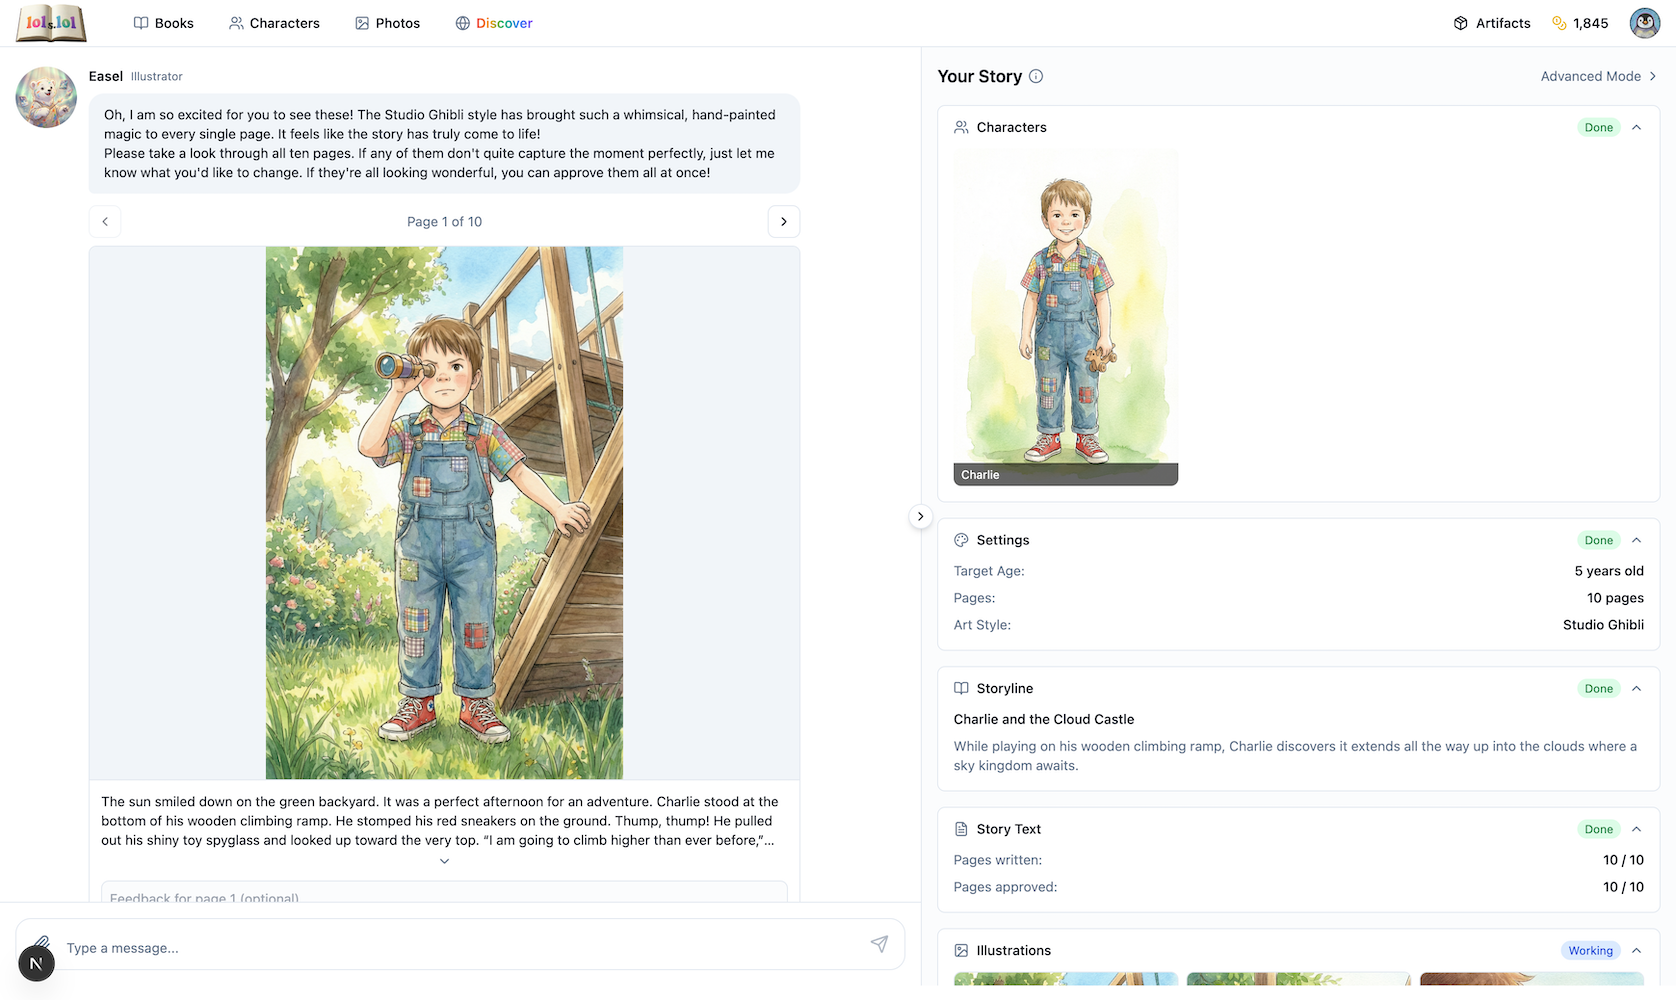
Now for my favorite part—painting the scenes! Each illustration will feature your characters in the story's world.
This is where the magic really happens. Easel creates a unique illustration for every page, keeping your characters consistent throughout.
Review each illustration:
- Navigate through pages using the arrows
- Give feedback on any page that needs adjustment
- Click Approve All when everything looks perfect
Want more control? Switch to Advanced Mode to see all illustrations at once, regenerate specific pages, and fine-tune illustration prompts.
Step 7: Design Your Cover
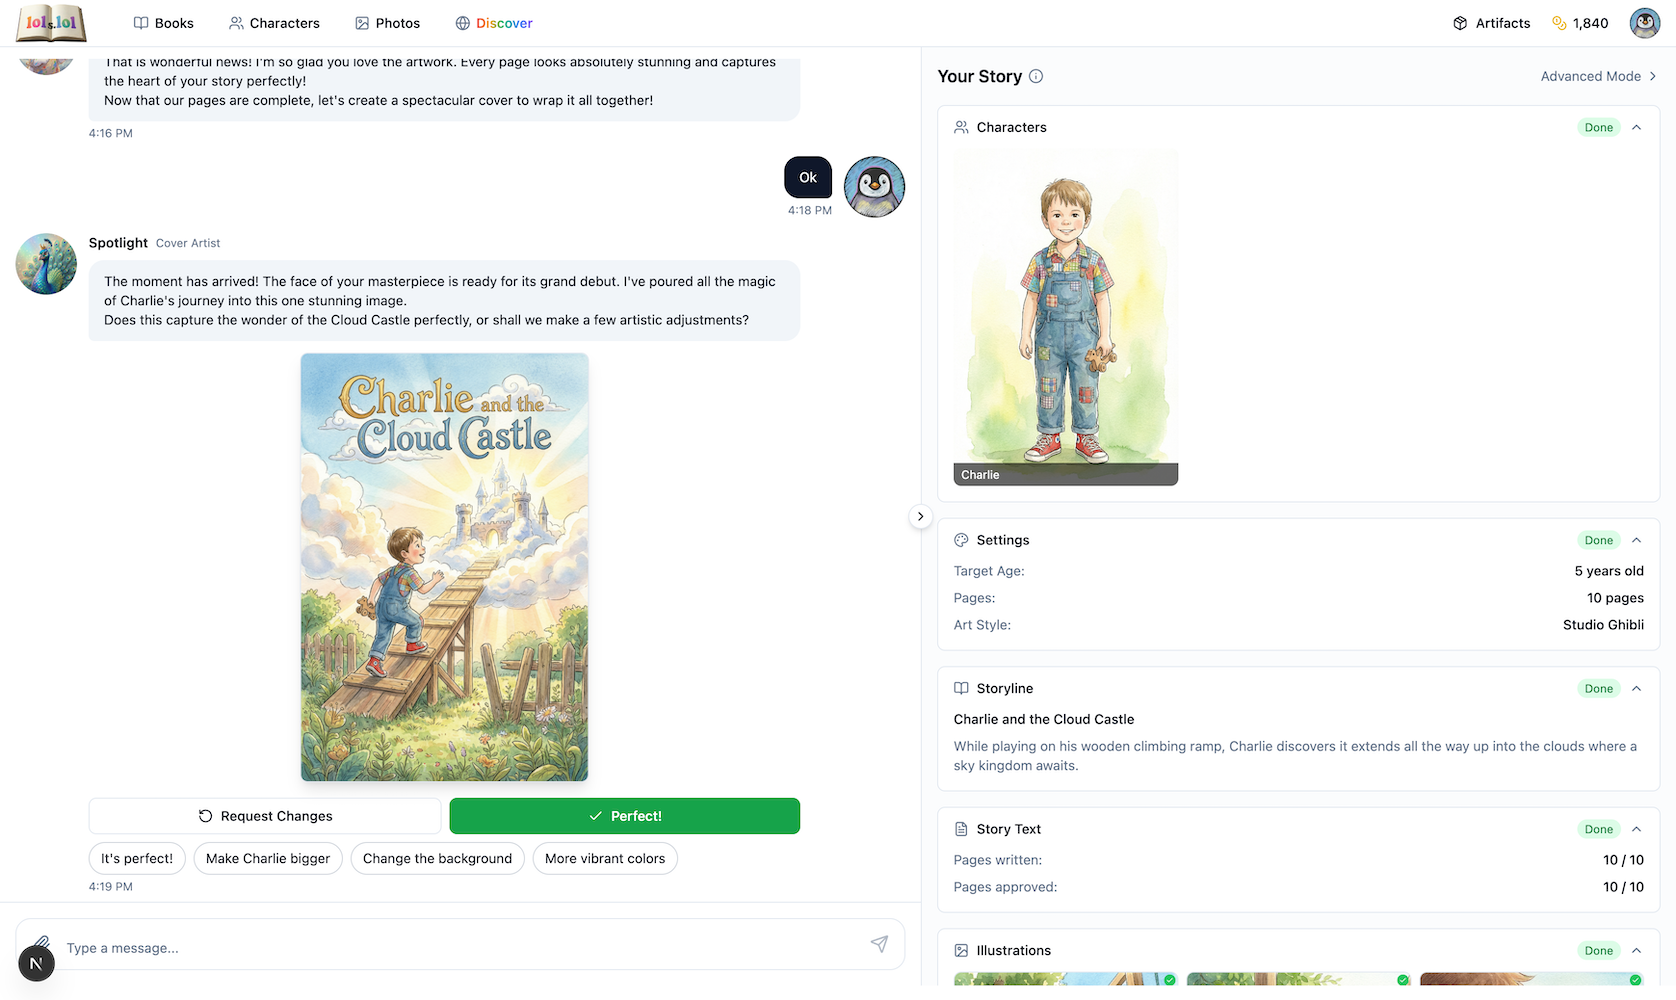
Every great book deserves a stunning cover! Let me create something eye-catching...
Quick feedback options make it easy:
- Perfect! — Approve as-is
- Make [character] bigger — Adjust sizing
- Change the background — Try different scenery
- More vibrant colors — Pump up the energy
Step 8: Bind Your Book

Everything is ready! Shall I bind it all together into your finished storybook?
Click Create my book! and Finley assembles your masterpiece.
Congratulations! Your personalized storybook is complete!
After Your Book is Created
Your story is saved, but the journey doesn't end here! You can add audio narration, publish for others to enjoy, and even print a physical booklet.
Generate Audio Narration
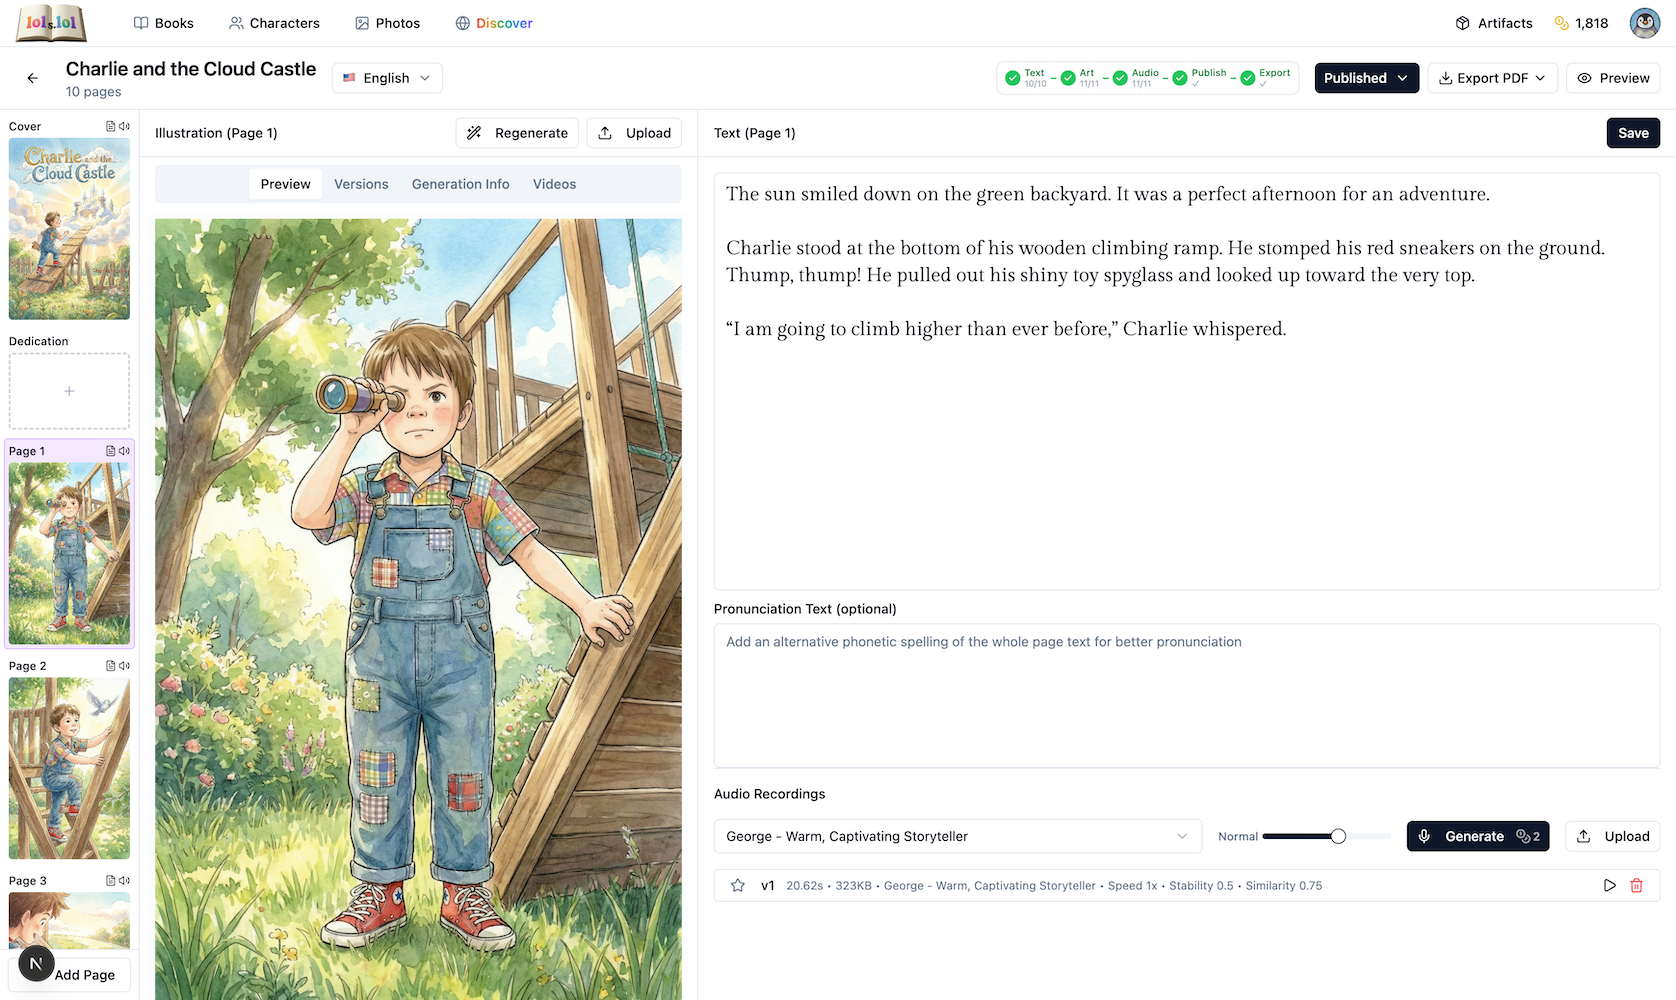
Want your book read aloud? Navigate to your book and click on Audio to generate narration for each page. Choose from different voices like George — Warm, Captivating Storyteller.
The audio plays automatically as readers flip through pages in the reader view.
Publish Your Book
Ready to share? Click Publish and choose your visibility:
- Private — Only your family can read it
- Unlisted — Anyone with the link can view
- Public — Appears on the Discover page for everyone
Once published publicly, your book appears on the Discover page where other families can enjoy it too!
Read in the Public Reader
The public reader provides a beautiful full-screen experience with your cover, illustrations, text, and audio narration.
Export as a Printable Booklet
Want to hold your story in your hands? Click Export PDF and choose Booklet Layout for a print-ready PDF with proper page imposition for saddle-stitch binding.
Printing instructions:
- Use Letter size paper
- Enable Duplex/Two-sided printing
- Select Flip on short edge
- Print at Best or High quality
After printing:
- Stack all sheets with Sheet 1 on top
- Fold the entire stack in half
- Staple through the fold (2-3 staples)
- Trim edges if desired
Getting Started: Click the AI Story Generator button
Getting Started: Select 'Enter story generator'
Step 1: Select characters for your story
Step 1: Upload photos for new characters
Step 2: Choose your art style
Step 3: Review and refine character artwork
Step 4: Pick from unique storylines
Step 5: Review the story text for each page
Step 6: Review illustrations in chat mode
Step 6: Use Advanced Mode for more control
Step 7: Approve or refine your book cover
Step 8: Your finished storybook!
Add audio narration to your book
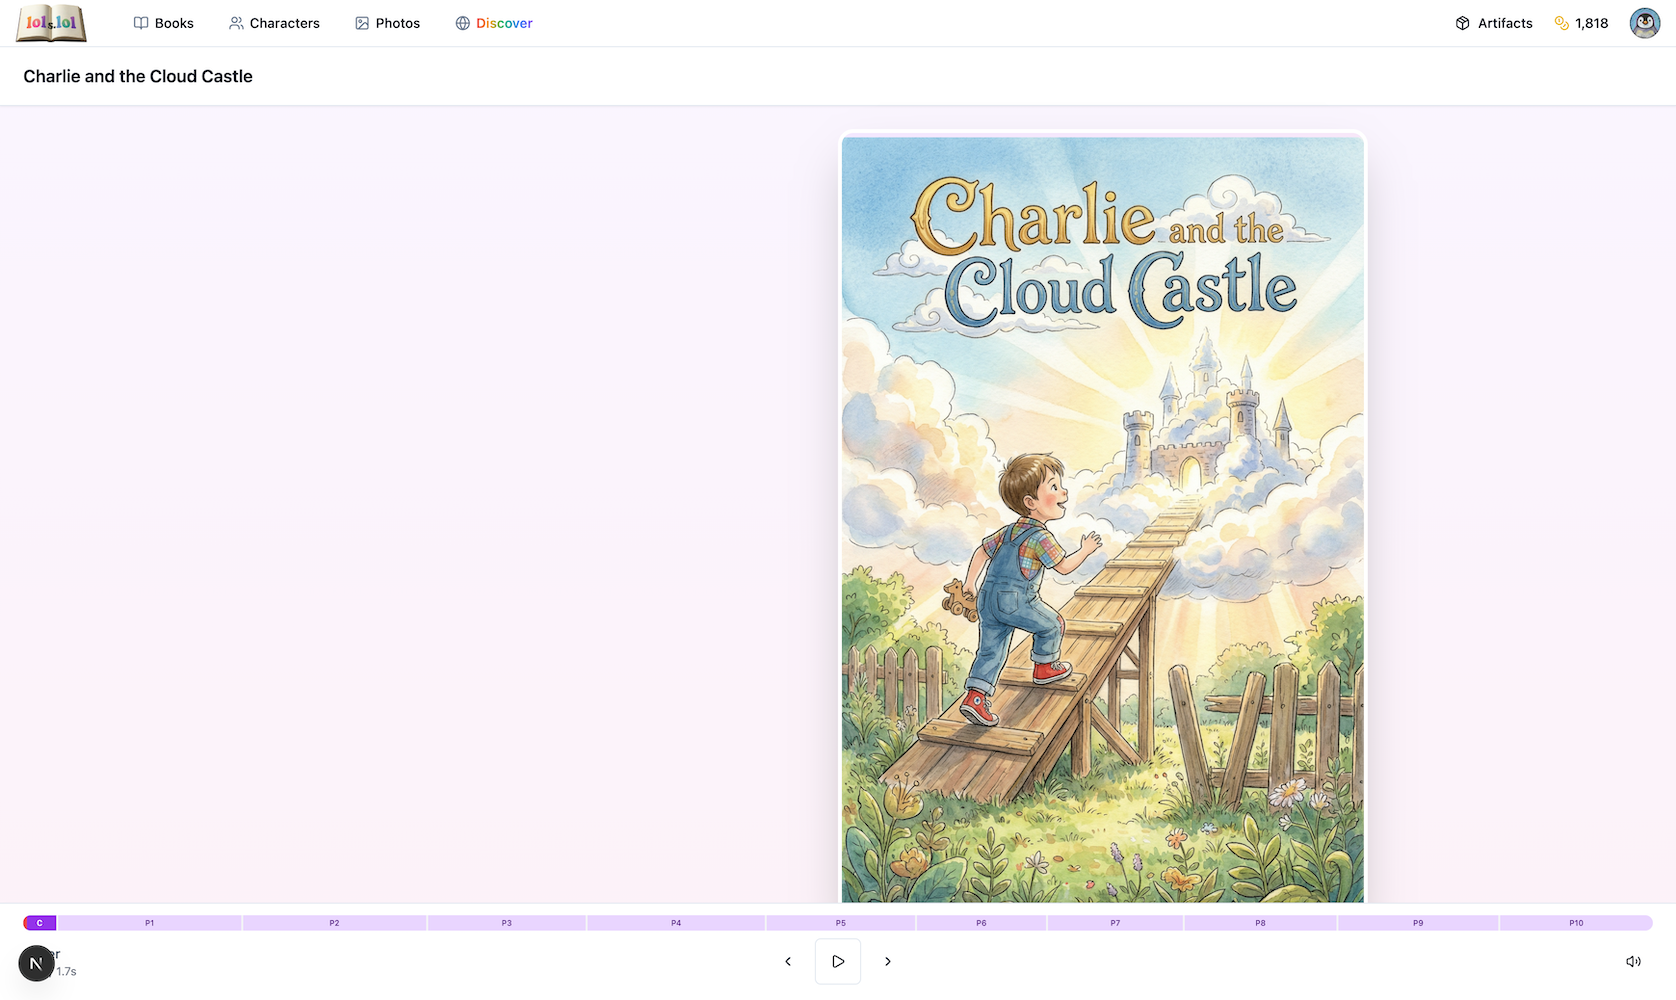
Full-screen reader: Book cover
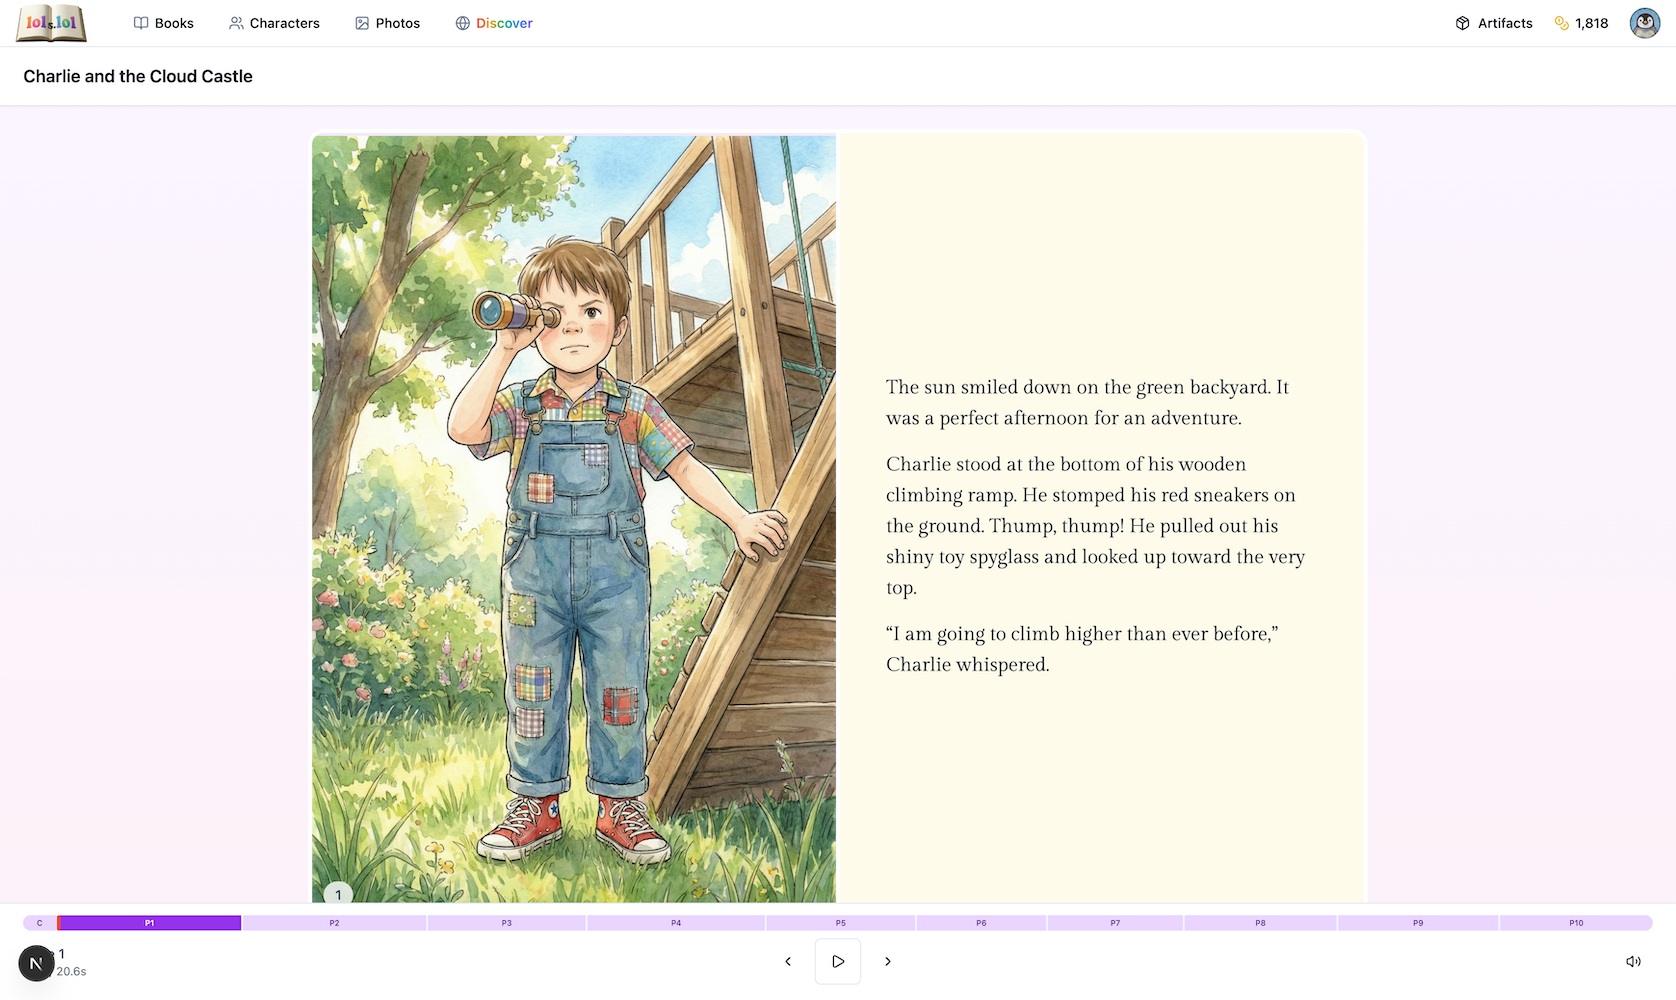
Full-screen reader: Story pages
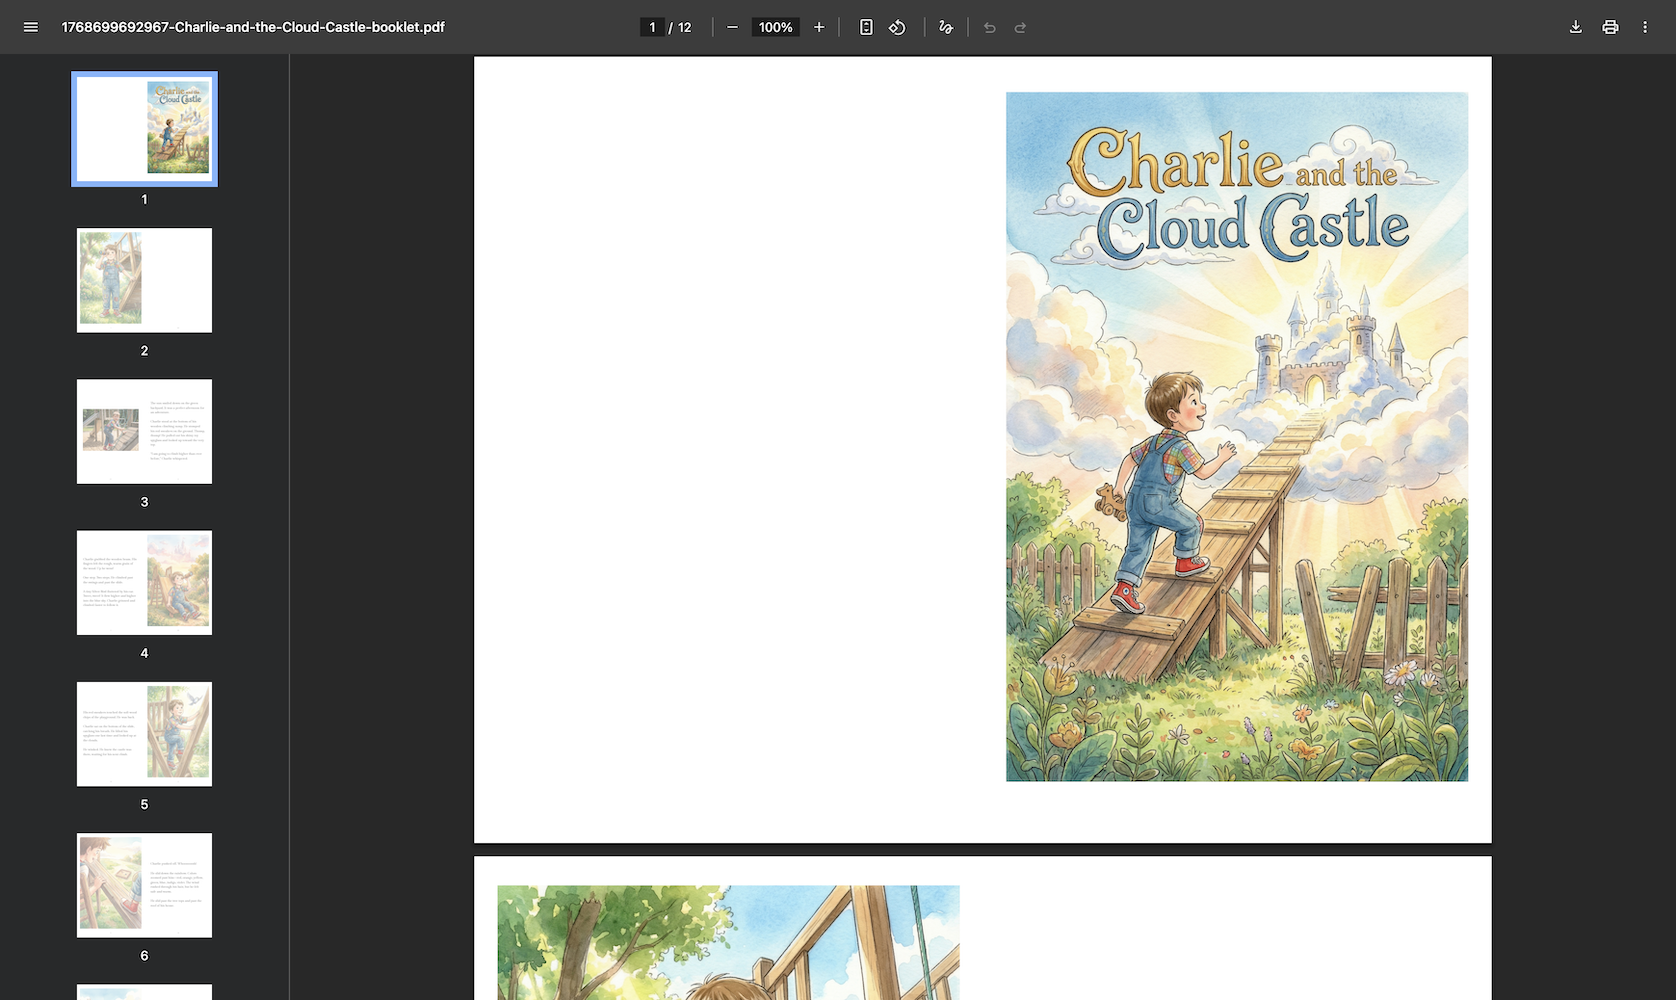
Print-ready booklet PDF
Ready to Create Your Story?
Our team of AI assistants is ready to help you transform your family photos into a magical storybook!
Already have an account? Go to Story Generator